
Did you know you can use tools and skills you already have to produce higher quality graphics for your presentations, without paying for or learning expensive image editing programs?
This is part of a series of quick tricks. Each post in this series will be a short tip to accomplish tasks quickly using what you already have. You don’t need to be a techie to appreciate these, it doesn’t even matter what version of Windows you have. In fact, these tips will even work on tablets running Windows RT.
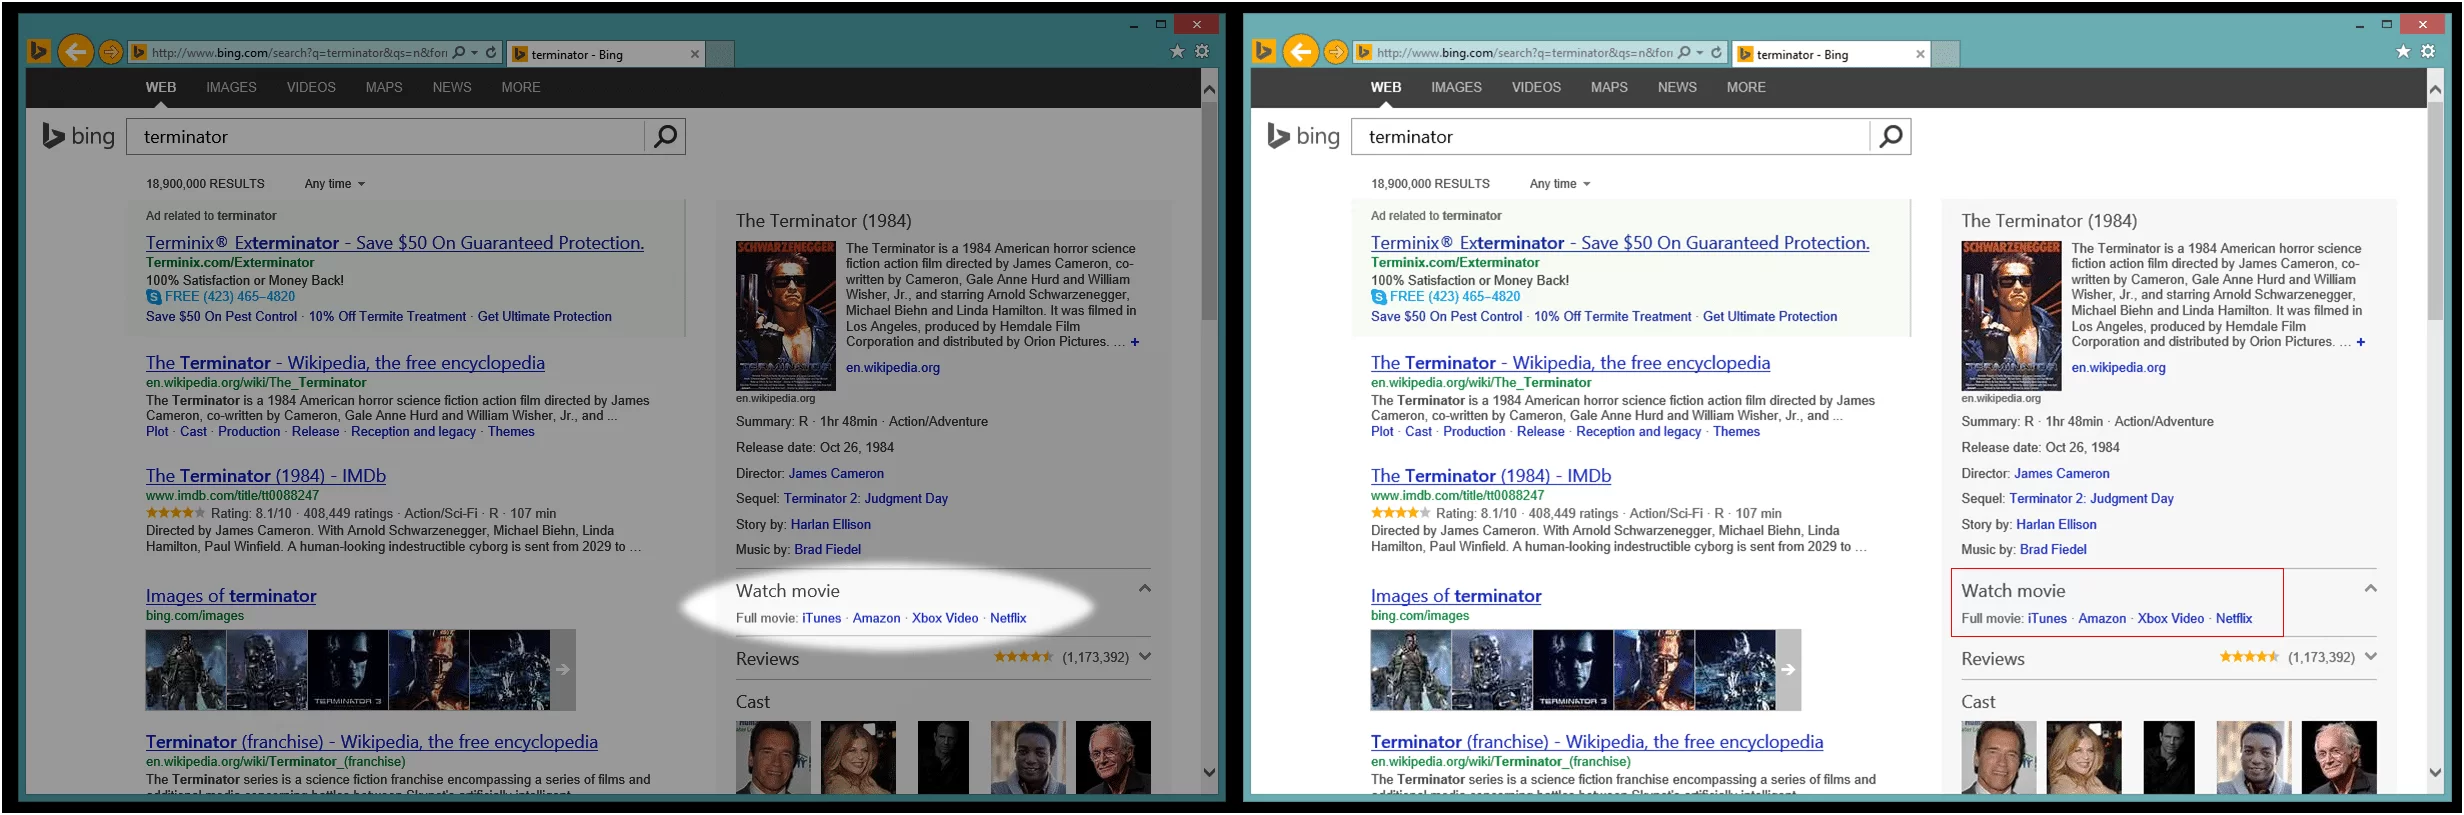
Today’s tip creates a spotlight effect on a graphic, which provides more focus on the intended subject of the graphic by softening distractions. Here’s an example from my earlier blog post, which highlights where you can watch a movie found on bing. Instead of just drawing a box, I use a spotlight effect.

This special spotlight effect is very easy to reproduce using Microsoft Office. You can do this in any Office program, and today I’ll use PowerPoint because it provides a blank canvass with no limitations like paper size or text margins. Here’s how:
- Start a new blank PowerPoint file, and delete the template (“type your title here”) text.
Take a screenshot and paste it into PowerPoint twice. I used Alt-PrintScreen, which limited my screenshot to my active window, the Bing webpage.
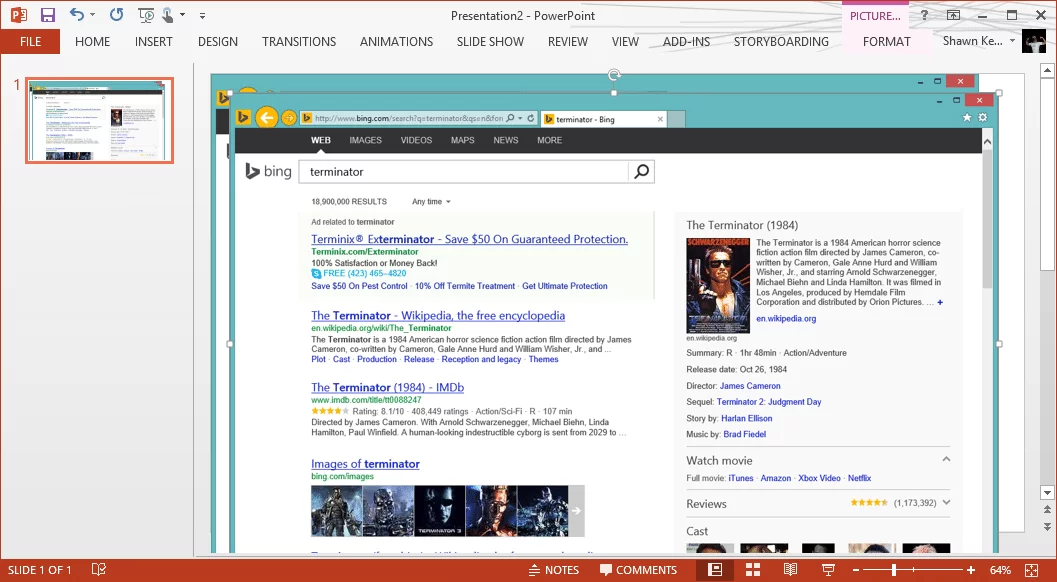
Position both screenshots directly on top of each other. To align them easily, snap them both into a corner of the canvas (they’ll pop into place).
Crop the front image. Click the image on top, then choose Crop on the image toolbar. Crop it down to the area you want to highlight.
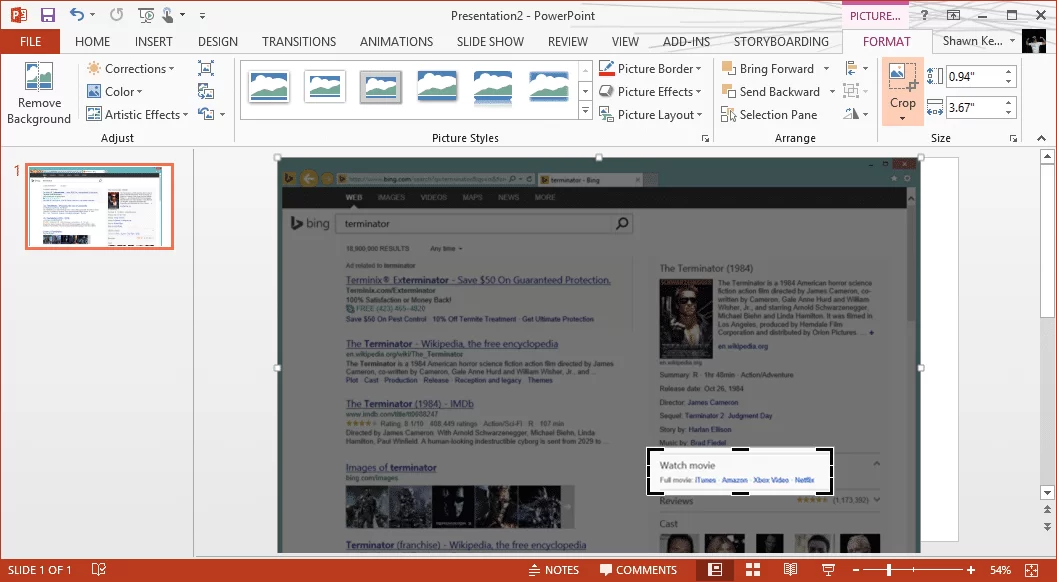
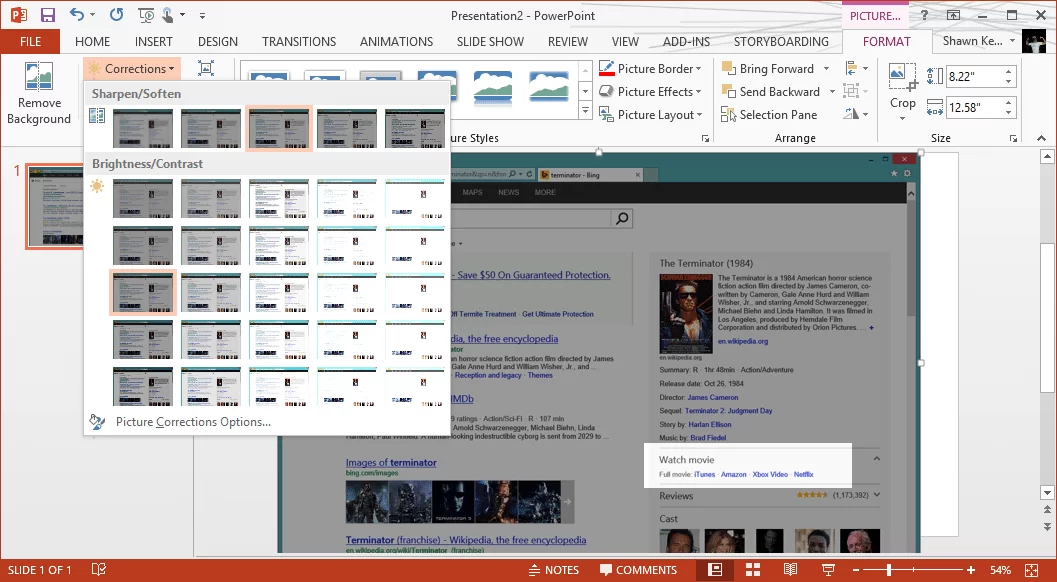
De-emphasize the back image. Adjust the image in back so your front (cropped) image stands out. I made the back image darker from the Corrections menu, but you could also make it blurry or choose other options from the Artistic Effects menu.
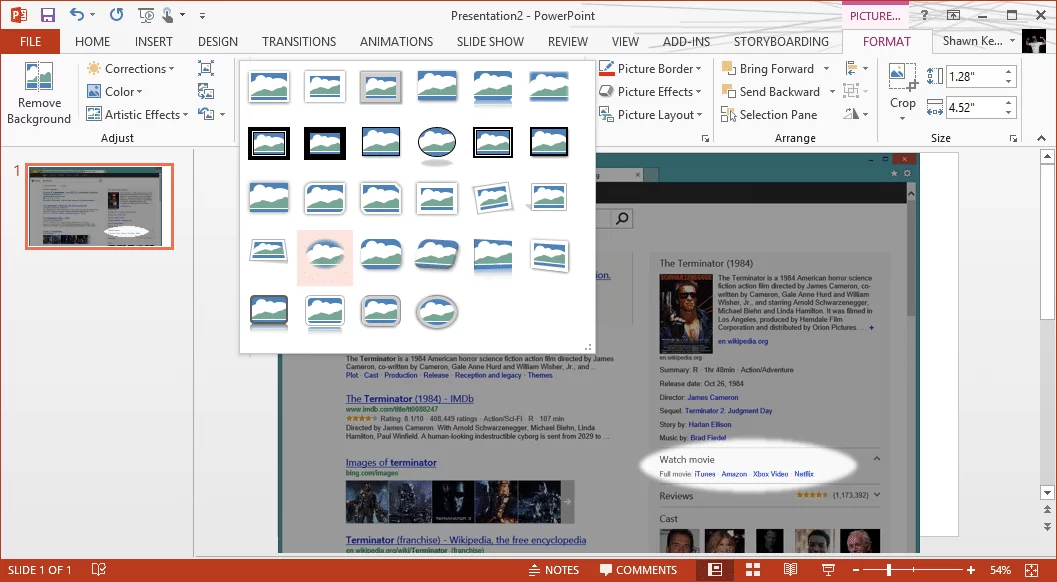
A little finishing touch. With the small (front) cropped image selected, try some other effects. You could add a shadow, make edges glow, or my favorite, soften the edges for a spotlight effect.
Use it. Press Ctrl-A to select both pictures together, then right-click and “save picture” to create a final image file that you can use online or in any document/email.
This same trick can also be used to create a blur over an area you want obscured in an image:

You could paste a cropped unblurred portion on top to show details while obscuring everything else.
Leave a Reply