
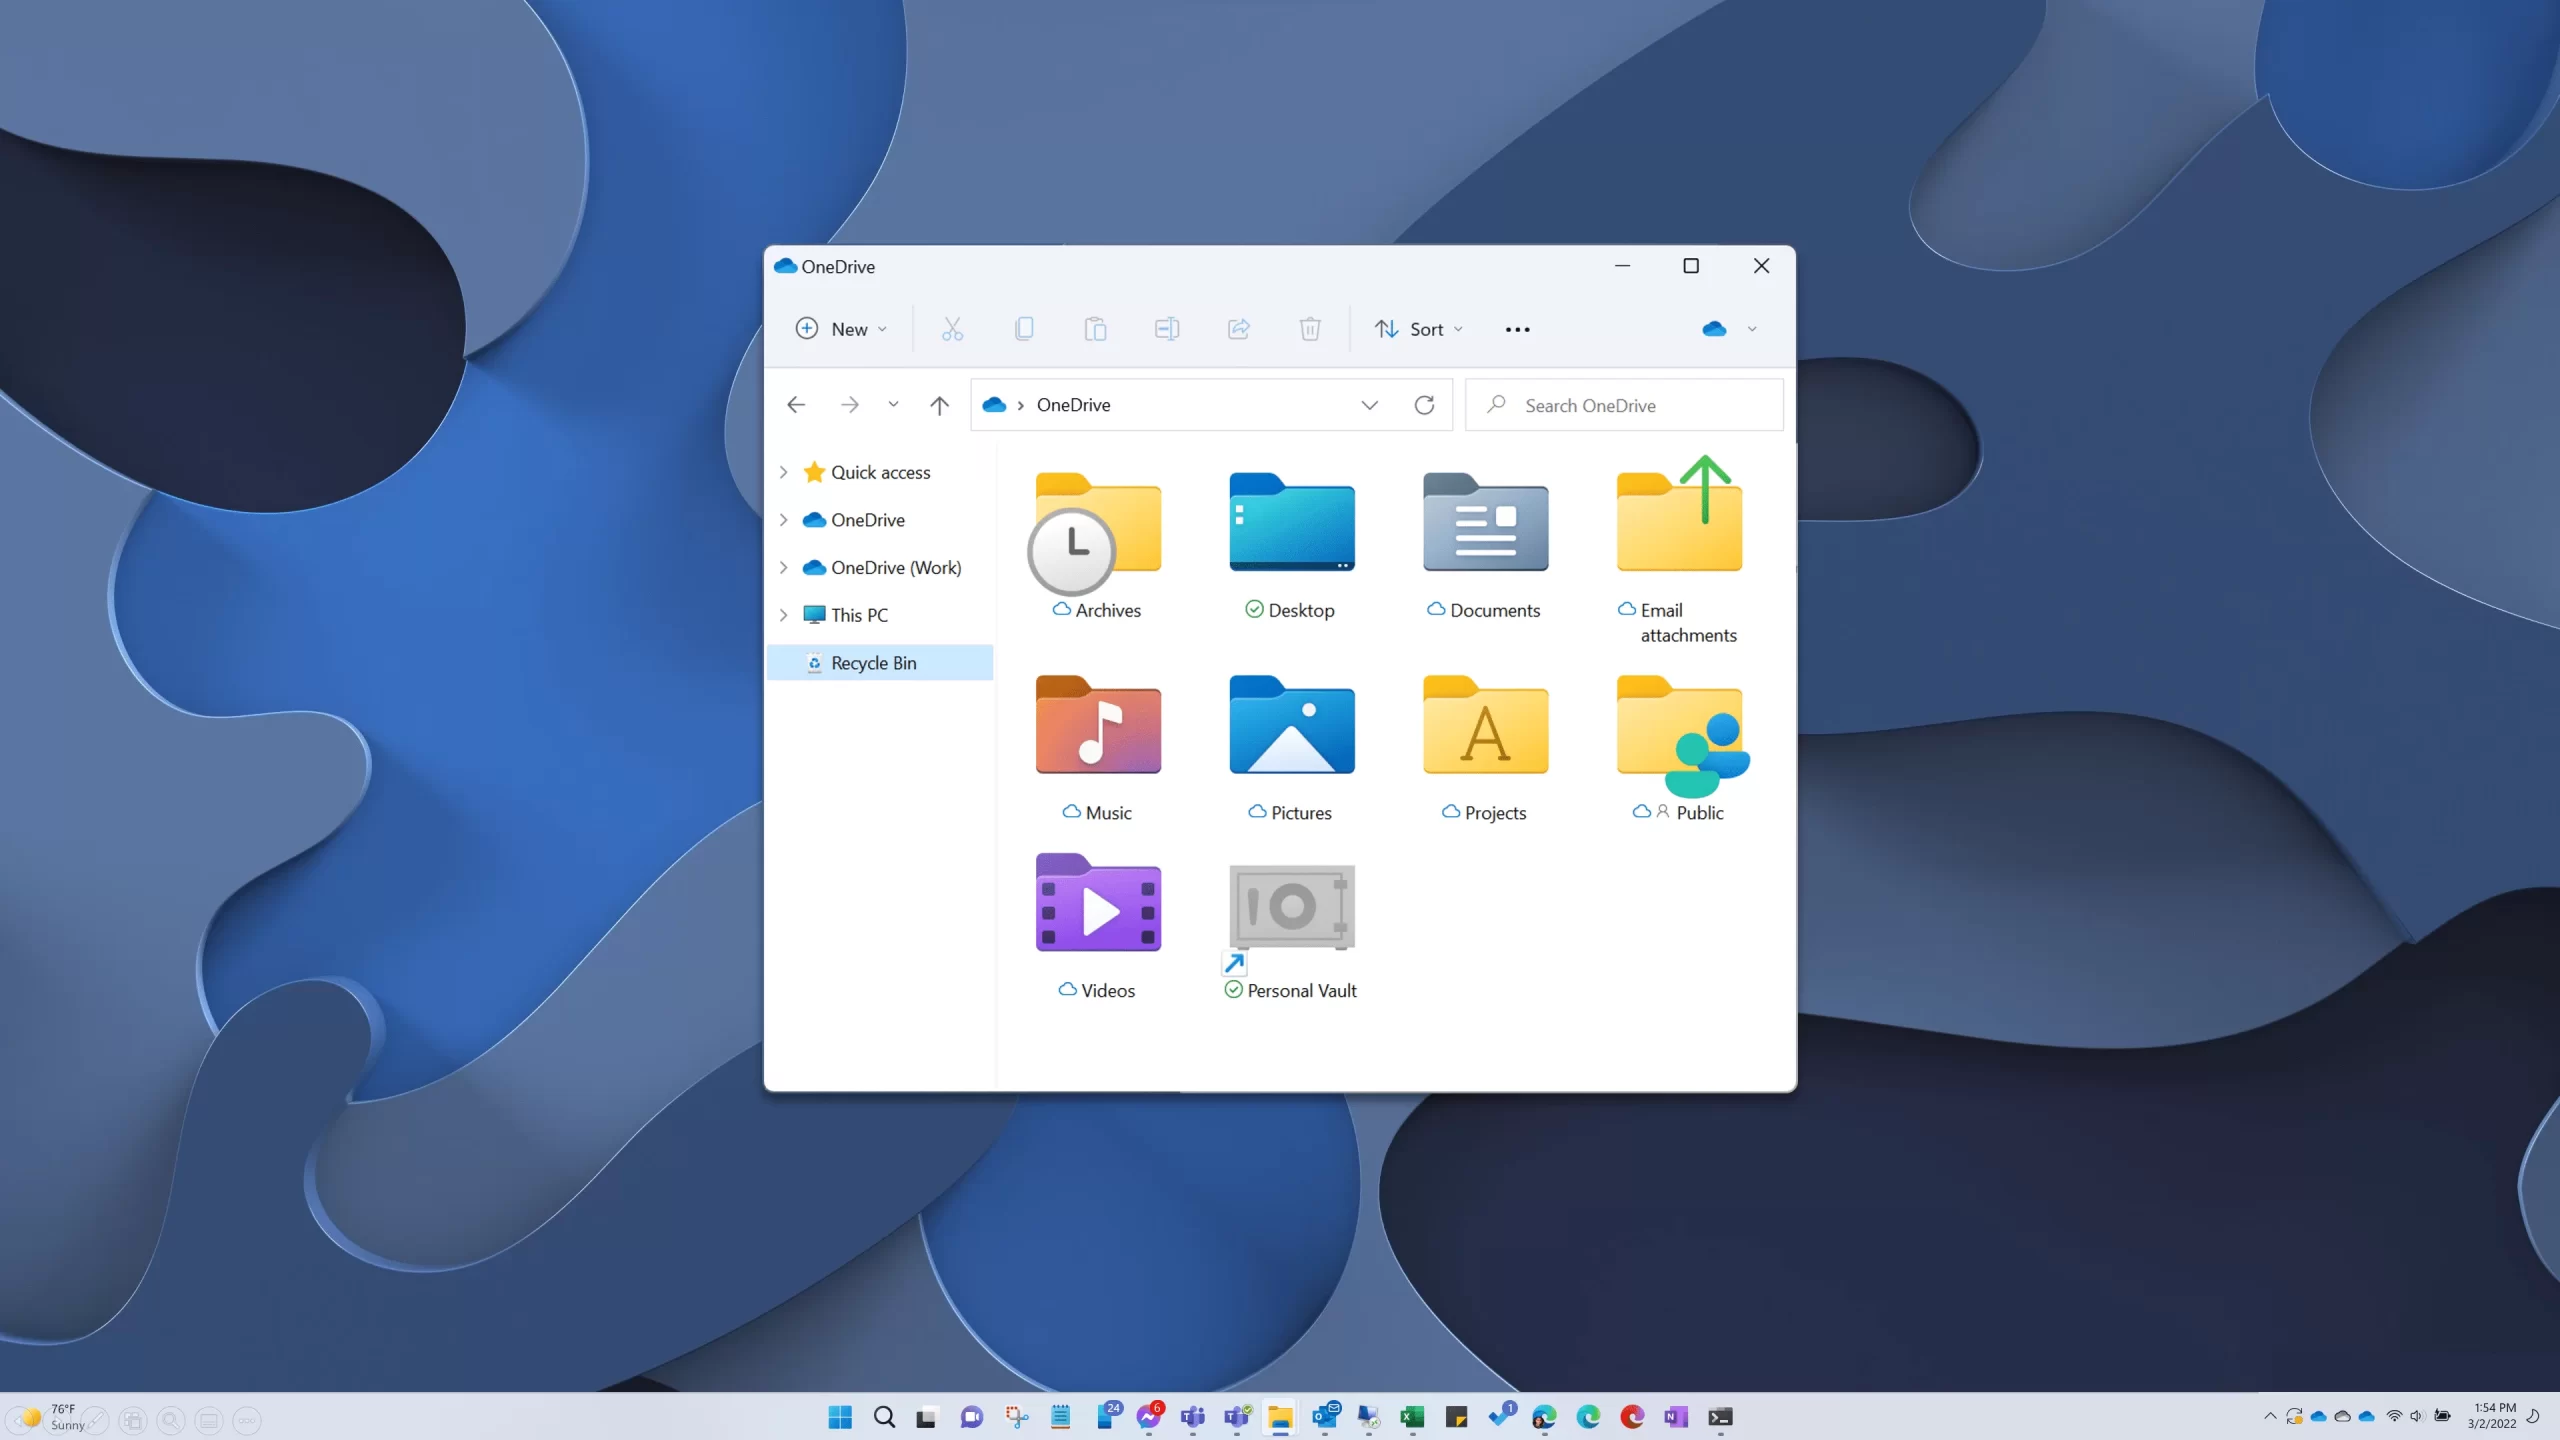
Why would you keep your garbage can on your desk anyway? Here’s how to add Recycle Bin to your Explorer navigation pane so it’s readily available anytime you’re working with files.
To accomplish this:
- Copy the block of commands below (there are two lines of commands, be sure to copy them both).
- Open Windows PowerShell and right-click inside there to paste the commands, then press Enter.
- Close PowerShell and open File Explorer to see the results.
New-Item -Path "HKCU:\Software\Classes\CLSID\{645FF040-5081-101B-9F08-00AA002F954E}" -force

New-ItemProperty -Path "HKCU:\Software\Classes\CLSID\{645FF040-5081-101B-9F08-00AA002F954E}" -Name "System.IsPinnedToNameSpaceTree" -Value 1 -PropertyType dword -force
You can also clean up your desktop by removing the Recycle Bin icon. Go to Settings > Personalization and choose Themes > Desktop Icon Settings to do so.

Leave a Reply