
Instead of just capturing your entire screen for guides or demos, composite your screenshots in PowerPoint to make them really shine. Here’s how I do it.
Size elements for consumption
Regardless of whether you’re preparing a screenshot for sharing by email, social, or instructional guide, a screenshot of a 4K resolution desktop does not lend itself well for sharing a picture. Even for use on a desktop web browser, a high-resolution screenshot makes most elements look microscopic to other users even if they themselves have a high-resolution screen.
Consider this comparison. Here our goal is to show “how to set the Windows Inverted cursor scheme”. Both screenshots were taken on the same computer, but one had a few seconds of attention given to it before pasting it into this blog post. It doesn’t take significant time or skill, but rather just a desire to put in more than the absolute bare minimum amount of effort.


Just like a cereal box, enlarging the elements here provides usability that is not captured or fully realized through the original image.
Layout elements for better understanding and brevity
In a post a few weeks ago, I shared the screenshot you see below, but it’s a trick! The image you see here never appeared on my screen — and I’m not talking about the additional 1-2-3 callout graphics I added.

This would have been impossible to truly capture because the yellow information bar in the File Explorer (1) would have disappeared upon clicking it, which in turn launched the “Network” dialog (2). Then clicking “OK” there would have dismissed that dialog when the foreground “Network discovery and file sharing” choice (3) appeared.
Although there was never an instant when my computer screen resembled this exact situation, this composite provides a single graphic that more concisely demonstrates the steps required of the user. These all relate to each other in this exact way (1 leads directly to 2, which leads directly to 3).
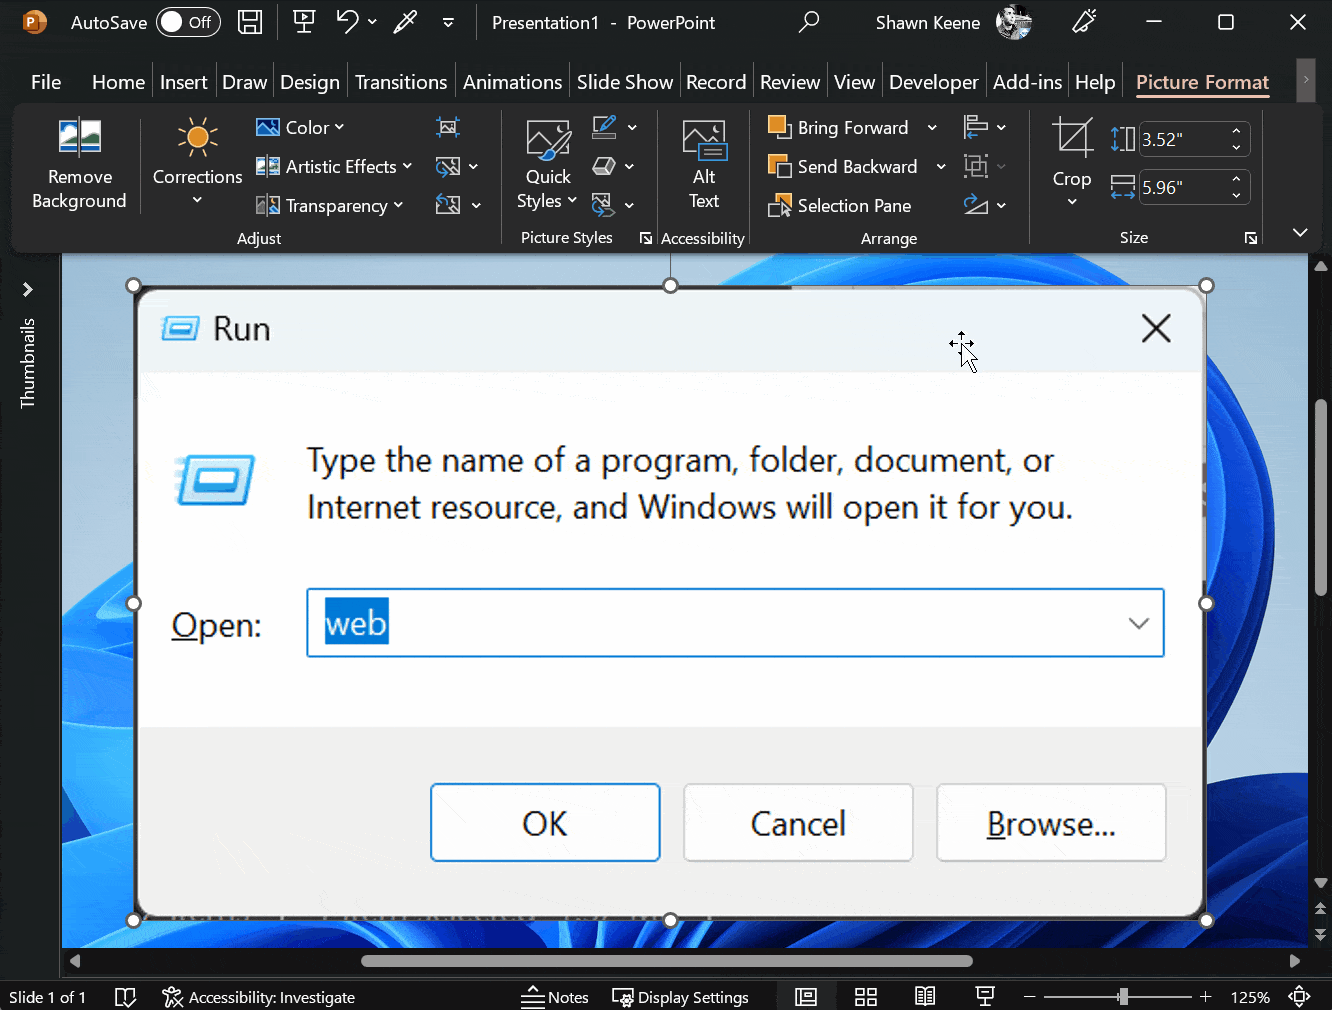
So how did I do it? I just took a screenshot of each step separately, but then instead of just lazily pasting all 3 full-desktop screenshots separately into my guide, I composited them together in PowerPoint first.
Even if it had been possible to capture this exactly as you see it in a single screenshot at once, pasting these as three separate pictures into PowerPoint slide canvas provides another benefit: the ability to arbitrarily re-arrange the images as I added my annotations. The occluded parts of each image are still fully available, so I can move the elements around however I please. Once I’m happy with the layout and style, I can select them all and save as a single picture.
By default, the output image is a transparency enabled PNG graphic, so it looks clean for others in light or dark mode.
Sweat the small stuff: make mockups look professional-grade
Finally, compositing screenshots first allows for cleaning up hanging chads or enhancing images for presentational style points. Although single-window (Alt+PrntScrn) screenshots are square and have extra captured bits outside the window, I can mimic the Windows 7 & Windows 11 rounded corners and apply drop shadows, making composited screenshots appear much cleaner. It only takes a few clicks:
- Crop to a rounded-rectangle shape and adjust the curve radius
- Crop off excess around the edges
- Apply a drop shadow
- Apply a border stroke line

Once you’ve done it once, you can even re-apply the same styles to any other image on the canvas by using the format painter (or Ctrl-Shift-C to copy the styles, then Ctrl-Shift-V to paste the styles onto other pictures).
So, this is it, this is what I use to mock-up instructional guides before I paste them into my blog posts, emails, forums, or share to social media sites.
Leave a Reply